Kitchens
What a kitchen renovation actually involves, in order
Six or seven trades in a fixed order, in the one room you cannot stop using. Getting the sequence right matters more than which units you buy.
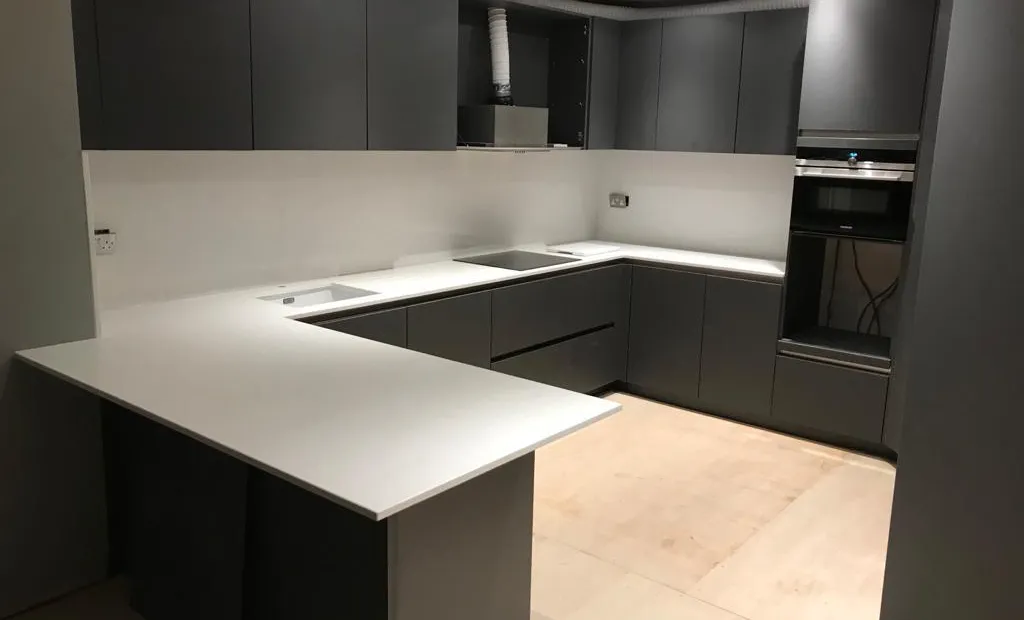
A kitchen is the most disruptive room in a house to rebuild, because it is the only one you cannot simply stop using for three weeks. It is also not one job. It is six or seven trades working in a fixed order, and if one of them arrives out of sequence the ones after it wait.
Understanding that order is the difference between a three-week job and a six-week one.
Step 1: Design and survey (before anything is ordered)
The unit schedule drives everything downstream: where the electrics go, where the waste runs, where the gas terminates, what the worktop has to span. Changing your mind about an island after first fix means moving a waste pipe under a concrete floor.
Two things to settle before you order:
Where the services actually are. Not where the plan says. Where they are. Consumer unit, stopcock, gas meter, existing waste run and its fall. On older houses these are rarely where you expect.
Whether the walls and floor are true. Old houses are not square. A run of units against a bowed wall needs scribing, and a floor that falls 30mm across the room needs packing before anything is levelled. Better to find this at survey than when the worktop template does not fit.
Step 2: Strip out (one to two days)
Old units out, appliances disconnected, tiles off, flooring up. Gas appliances must be disconnected by someone on the Gas Safe Register.
This is the stage that reveals what the survey could not: what is behind the tiles, whether the plaster is sound, whether there is a surprise under the floor. Expect at least one.
Step 3: Structural work, if there is any (a few days to two weeks)
Knocking through to a dining room, widening an opening, taking out a chimney breast. Anything removing load-bearing structure needs a structural engineer’s calculations and building control approval, and the steel has a lead time: design, fabricate, deliver, install.
If your kitchen involves an opening, this is where a job stops being a kitchen fit and starts being building work.
Step 4: First fix (three to five days)
The stage nobody sees and everything depends on. Electrics and plumbing are run in the walls and floor before anything closes up: sockets, appliance spurs, lighting circuits, extractor, hot and cold feeds, waste runs, gas if it is moving.
Two things matter here.
Electrical work in a kitchen is notifiable. Part P of the building regulations covers it, and it needs either a registered electrician who can self-certify or a building control application. This is not optional and it is checkable. Ask which route your job is taking.
Waste falls have to work. A waste run needs a consistent fall to discharge properly. If the only route to the stack is long and shallow, that constrains where the sink can go, and it is far better to know at design stage.
Step 5: Plastering and drying (three days to two weeks)
Walls patched or skimmed, then left to dry. This is the stage people try to compress and cannot. Fresh plaster needs to dry before it is painted, and how long depends on thickness, weather and ventilation: days in summer, longer in a cold damp week.
Painting plaster that has not dried traps moisture and the finish fails later.
Step 6: Flooring, sometimes (one to two days)
Whether flooring goes in before or after the units depends on the floor.
- Tile and stone usually go down first, with units set on top. It makes the floor continuous, and appliances can be pulled out later without meeting a step.
- Engineered wood and vinyl often go in after the units, to avoid damage and to save laying material nobody will ever see.
The one that catches people out: if flooring goes under the units, the appliance apertures get shallower by the thickness of the floor. Integrated appliances have tight tolerances. It needs to be decided before the units are set out, not after.
Step 7: Units (two to four days)
Carcasses first, levelled and joined into runs, then doors and drawers. Levelling is the part that determines whether the finished kitchen looks right: doors are aligned to each other, and a carcass that is 3mm out shows across a run of five.
Appliance apertures get checked against the actual appliances at this stage, not the brochure dimensions.
Step 8: Worktops (templating, then a wait)
If you are having stone, quartz or solid surface, the worktop cannot be made until the units are in. A templater comes, measures the actual installed carcasses, and the worktop is cut to that. Then you wait, commonly one to two weeks, depending on the fabricator.
This is the gap nobody plans for. For that period you have units, no worktop, and no sink. Laminate avoids it because it is cut on site, which is one of the genuine arguments for laminate beyond price.
Plan around it: know it is coming, and do not book the plumber for the day after templating.
Step 9: Second fix (two to four days)
Worktop fitted, sink and tap connected, appliances installed and tested, sockets and switches fitted, extractor connected, gas appliances commissioned by a Gas Safe engineer. Handles on.
Step 10: Tiling and finishing (two to four days)
Splashbacks tiled and grouted, silicone to worktop junctions, decoration, plinths and end panels scribed to the floor and walls.
Scribing is what separates a fitted kitchen from a delivered one. Plinths cut to follow an uneven floor and end panels scribed to a bowed wall are the details you do not notice when they are right and cannot stop noticing when they are not.
Step 11: Snagging
A walk round with a list. Doors adjusted, a drawer that catches, a grout line to point up, silicone to redo. Every kitchen has a snagging list; what matters is that it gets written down and worked through.
How long the whole thing takes
A straightforward replacement in the same layout, no structural work: two to three weeks on site, plus the worktop wait if it is stone.
Change the layout, move services, take out a wall: four to six weeks, plus the structural design and steel lead time before anything starts.
Living through it
Realistically you will be without a kitchen for the whole of it. Worth doing before the strip out:
- Set up a temporary kitchen somewhere else: kettle, microwave, fridge
- Know which days the water and gas will be off
- Agree where the dust barrier goes, because kitchen dust travels
- Ask which days are the disruptive ones, so you can be out for them
The best thing a builder can do for you during a kitchen refit is tell you what is happening tomorrow. Ask for that.
What to do next
If you are weighing up a kitchen, the two decisions that shape everything else are the layout and whether you are moving services. Both are much cheaper to change on paper.
Tell us what you are thinking and we will give you an honest view of what the job involves before it is worth quoting.
Planning work in Horsham?
See how we handle kitchen fitting in Horsham, or tell us what you have in mind.